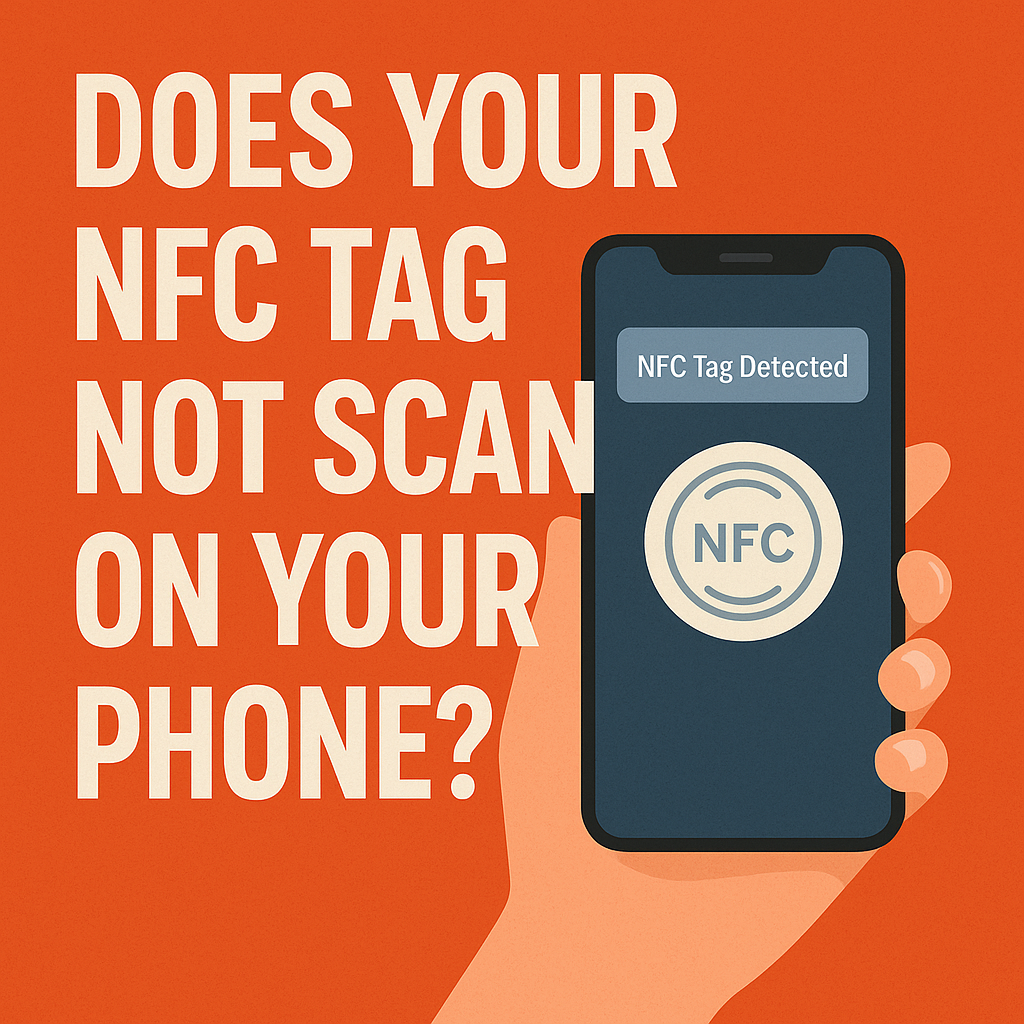
This is a guide to programming NFC tags so they reliably share your contact information across both iPhone and Android devices.
Step 1: Create a vCard (.vcf file)Add your details in your phone or computer’s Contacts app.Export as a .vcf file.
Step 2: Upload the vCardHost it online with a shareable HTTPS link (website, Google Drive, Dropbox, etc.).
Step 3: Write the NFC tagOpen NFC Tools Pro.Add a URL/URI record with your vCard link.Write to the tag.
Step 4: Test the tagiPhone XS and newer: Tap the top of the phone. Safari will open and prompt to save contact.Android: Tap the back of the phone. Chrome will open and prompt to save contact.
Extra TipsUse a landing page if you want to include multiple links (website, social, Etsy shop).Pair with a QR code for older phones.Test on both platforms before handing tags out.
✅ That’s it! Now you’ve got a truly universal NFC tag that makes sharing your contact info seamless.For more information, check out my blog post here
How to create a materials test file in Xtool’s XCS software
Create a square the size of .25 x .25 inches (or your preferred size)
Make sure the square is set to cut if you want a Cut test file (you’ll select engrave or an engrave test file or score for a score test file)
Select the square, Click Applications left hand side, Select Material Test Array
Adjust the parameters for the power and the speed
Adjust the columns and rows, if desired
Adjust the spacing between the squares, if desired
Once you are happy with everything, click Done.
You can ungroup everything and move the text closer to the squares but be careful about changing the properties of the squares
Add a larger square to cut out that material test to save for a later time
Using Adobe Illustrator, make text take the form of a shape using the Object/Envelope Distort/Make with Top Object Tool.
Making text into a shape.
Draw your shape on your artboard with no fill and add an outline
Add Text to the art board
Highlight the Shape - Right Click - Select Arrange-Bring to Front
Copy the Shape with Control-C
Select Both Objects
Select Object-Envelope Distort-Make with Top Object
Right Click on Artboard - Select Paste - Paste in Place